![[Latest Version] How to Download Asus Aura Sync](/img/downloload-complete-setup-1-.jpg)
[Latest Version] How to Download Asus Aura Sync
2 years ago
![[Latest Version] How to Download Asus Aura Sync](/img/downloload-complete-setup-1-.jpg)
2 years ago
Aura Sync is a synchronized system of RGB lighting effects and personalization across most current ASUS PC products.
To synchronize your favourite colours and effects, download the free companion software onto your Windows 10 or Mac OS device. The latest version features even more ways to sync up your rig with Aura Sync-compatible hardware, including ASUS motherboards, graphics cards, monitors, peripherals, keyboards, and mice.
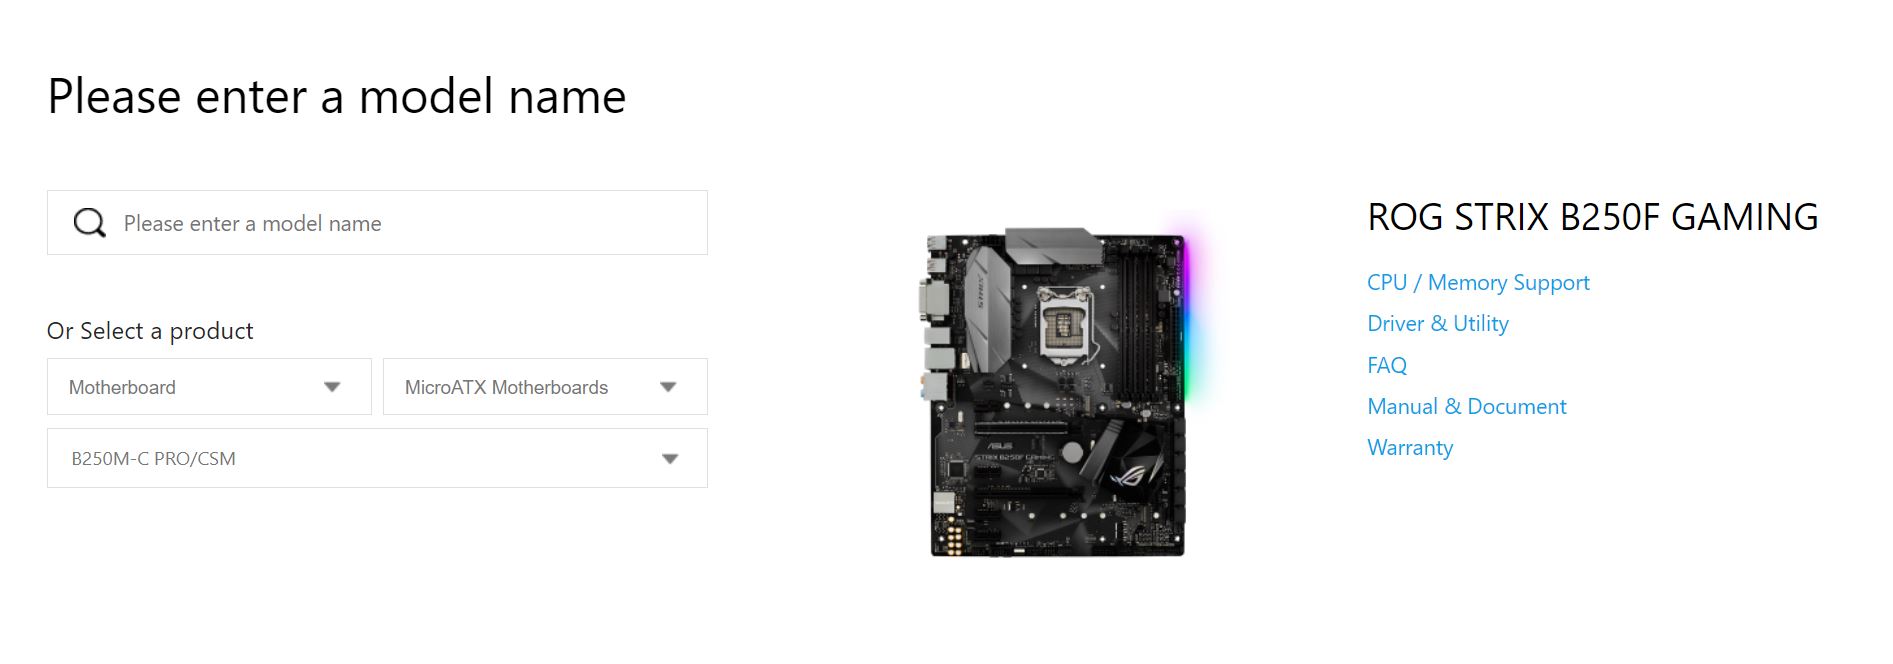
-Visit the ASUS Downloads page.

-Under "Select Product Category" select "Desktop Motherboards."
-Under "Product Series," select the motherboard model you are using.

-Under "Driver & Utility" select "Software" and then "Aura."

-Download the software, then follow the step-by-step instructions to install it.
Once you have installed Aura Sync, open the application and click "Start." The next time you start your computer, Aura Sync will automatically run in the background.
The ASUS Aura Sync logo will appear in the bottom-right corner of your screen when the application is open and running. If you are using a compatible ASUS graphics card, motherboard, or peripheral, the Aura Sync logo will also appear in the top-right corner of the applicable device's screen.
To change your lighting effects, click on the arrow next to the "Aura" header at the top of the application. Then select any effects that you wish to use and click "Apply." You can then use your keyboard, mouse, and other RGB peripherals to select colours and effects by clicking on the corresponding options in the Aura Sync UI.
To change your selected lighting profile, click on the header next to "Profiles" in the top navigation bar. Select a profile and then "Apply" to make the changes.
You can also create your custom lighting profiles by clicking on the "Create Profile" button in the top-right corner of the application.
To configure your ASUS motherboard's RGB LED lighting, open the Aura Sync application and click on the arrow next to the "Aura" header at the top of the application. Select "Motherboard."
Following are the available options:
-Static Lighting: configure the colour and intensity of your motherboard's LEDs.
-Breathing Light: make your motherboard's LEDs slowly fade in and out.
-Color Cycling: make your motherboard's LEDs cycle through different colours.
-Music Effect: make your motherboard's LEDs respond to the beat of your music.
To configure your ASUS graphics card's RGB LED lighting, open the Aura Sync application and click on the arrow next to the "Aura" header at the top of the application. Select "Graphics Card" to configure effects for the graphics card.
Following are the available options:
-Static Lighting: configure the colour and intensity of your graphics card's LEDs.
-Lighting Profile: select an Aura Sync lighting profile for your graphics card. Note that different profiles are available depending on which model you are using.
-Breathing Light: make your graphics card's LEDs slowly fade in and out.
-Color Cycling: make your graphics card's LEDs cycle through different colours.
To configure your ASUS monitor's RGB LED lighting, open the Aura Sync application and click on the arrow next to the "Aura" header at the top of the application. Select "Monitor" to configure effects for your monitor.
Following are the available options:
-Static Lighting: configure the colour and intensity of your monitor's LEDs.
-Lighting Profile: select an Aura Sync lighting profile for your monitor. Note that different profiles are available depending on which model you are using.
-Breathing Light: make your monitor's LEDs slowly fade in and out.
-Color Cycling: make your monitor's LEDs cycle through different colours.
To configure your ASUS keyboard's RGB LED lighting, open the Aura Sync application and click on the arrow next to the "Aura" header at the top of the application. Select "Keyboard" to configure effects for your keyboard.
Following are the available options:
-Single Color: choose a colour for your keyboard's LEDs.
-Breathing Light: make your keyboard's LEDs slowly fade in and out.
-Color Cycling: make your keyboard's LEDs cycle through different colours.
-Static Lighting: configure the colour and intensity of your keyboard's LEDs.
To configure your ASUS mouse's RGB LED lighting, open the Aura Sync application and click on the arrow next to the "Aura" header at the top of the application. Select "Mouse" to configure effects for your mouse.
Following are the available options:
-Single Color: choose a colour for your mouse's LEDs.
-Breathing Light: make your mouse's LEDs slowly fade in and out.
-Color Cycling: make your mouse's LEDs cycle through different colours.
-Static Lighting: configure the colour and intensity of your mouse's LEDs.
To configure your ASUS headset's RGB LED lighting, open the Aura Sync application and click on the arrow next to the "Aura" header at the top of the application. Select "Headset" to configure effects for your headset.
Following are the available options:
-Static Lighting: configure the colour and intensity of your headset's LEDs.
-Breathing Light: make your headset's LEDs slowly fade in and out.
-Single Color: choose a colour for your headset's LEDs.
-Color Cycling: make your headset's LEDs cycle through different colours.

To update your ASUS driver, open the Aura Sync application and click on the arrow next to the "Aura" header at the top of the application. Click on "Aura Settings" from this menu. Then, select "Driver".
Clicking on this will bring up a notification that updates are available for your setup. To install these updates, select "Driver".
To update your Aura Sync software, open the Aura Sync application and click on the arrow next to the "Aura" header at the top of the application. Click on "Setup".
Then, select "Update Now". Note that this option will only be available if you are using an older version of the Aura Sync software. If you are using the latest version, select "Check for Updates" to download the latest version.

To uninstall Asus Aura, open up your Control Panel. From there, go to "Programs and Features."
Scroll through the list and click "ASUS AURA SYNC," then press "Uninstall." After uninstalling it, you'll need to restart your computer.
Can we hide Aura Sync?
Yes, you can hide Aura Sync if you don't want it on your computer. Access the Control Panel and click Appearance and Personalization > Personalization.
From there, change desktop icon settings and uncheck "Show sync provider notifications." After that, restart your computer.

Disable Aura Sync by following these steps:
• Great for customization.
• The interface is easy to use.
• It has a great keyboard and mouse lighting effects.
• Can be customized to various colour schemes with a single click of a button.
• The Aura Sync software can be easily downloaded, installed, and updated for free on Asus’s website.
• Can adjust all RGB settings with just one click of a button.
• Can sync RGB lighting effects with other RGB components through Asus Aura Sync
In this article, we’ve discussed how to use Aura Sync and all of its features. Here were a few instructions that we hope will help you get started with the app and configure it to your preferences!